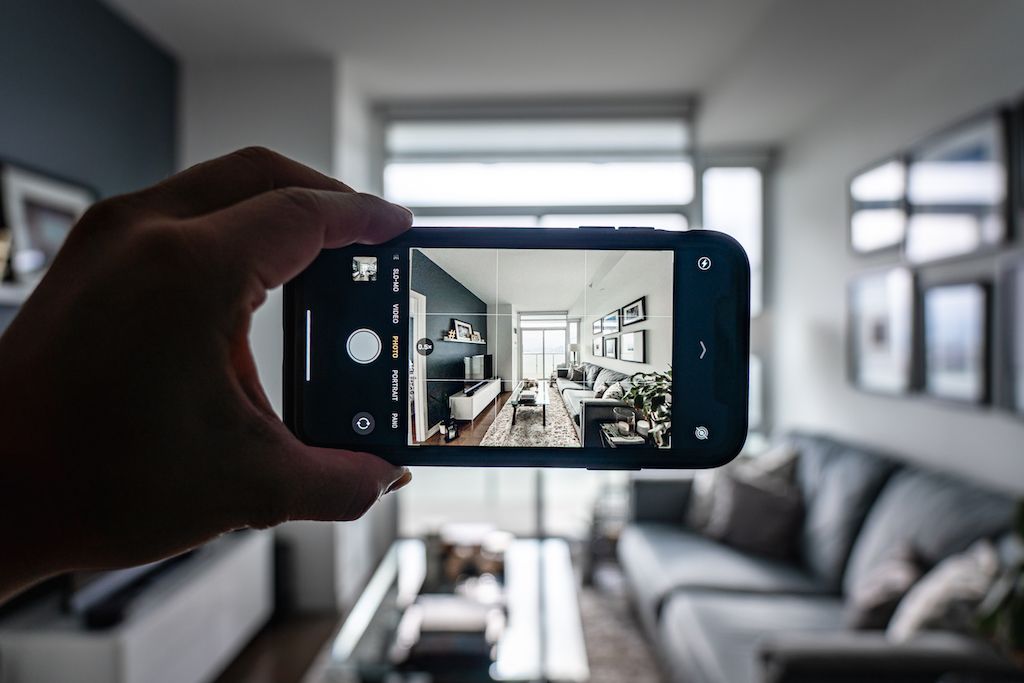
With open houses now prohibited in many regions amid the COVID-19 pandemic, real estate agents are looking for ways to showcase their properties without putting their clients and potential buyers at risk. Enter the video walkthrough, a feature typically reserved for the sale of luxury homes with generous marketing budgets.
But we’re here to tell you that you don’t need a $1,400 DSLR camera to shoot professional-looking video walkthroughs. The Livabl team has filmed and edited over 120 home tours for our YouTube channel, often using budget accessories like a $30 LED light or a garden cart in lieu of a dolly track. Here we’ve rounded up our top tips for real estate agents who want to create compelling video walkthroughs without shelling out a lot of cash.
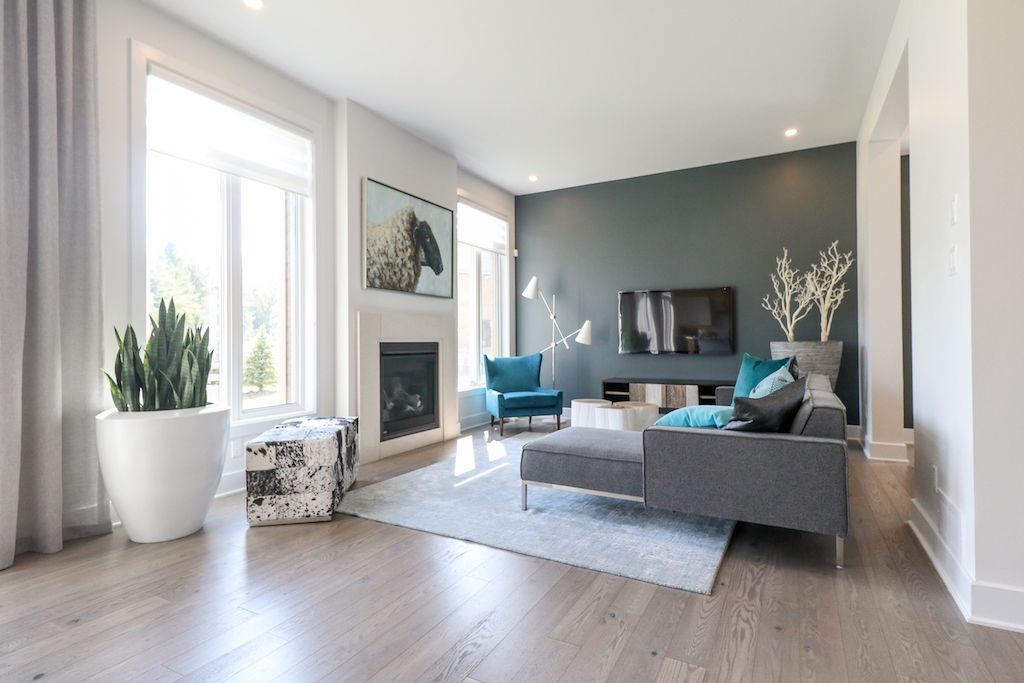
1. Declutter and stage the property
Prepare the property as if you were hosting an open house. That means cleaning out the closets, mowing the lawn, putting away family photos and clearing all surfaces of clutter. Even while filming homes that have been professionally staged by interior designers, we’ve had instances where a water bottle or dog toy gets left in the way and it ruins an otherwise perfect shot. Don’t forget to look in less obvious places too; a wide-lens could capture the baseball bat your client keeps hidden under the bed in case of intruders.
2. Prepare a shot list
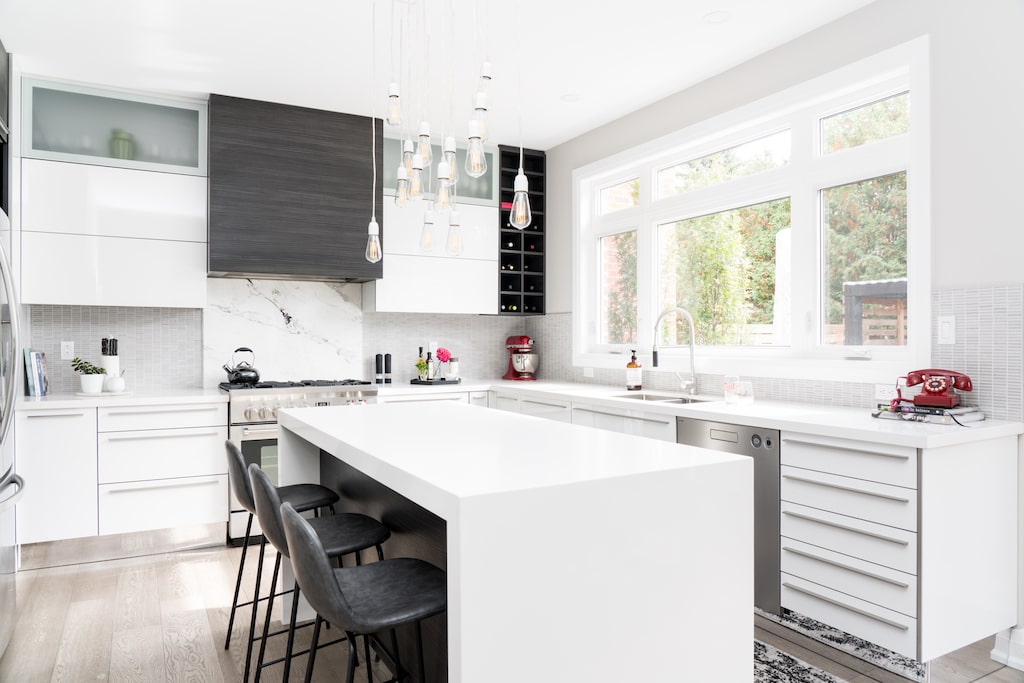
Preparing a shot list ahead of time will help you maintain focus on the day of filming. Think about the home’s top selling features and how you can highlight them. Have the owners installed new quartz countertops? Hone in on the subtle, marble-like veining to show it off.
It’s also a good idea to sketch out a floorplan of the home and decide the order of the rooms you’re going to film. When you reach the editing stage, the video will flow more naturally. Don’t forget to capture some shots of the exterior and any private outdoor spaces.
3. Consider the time of day and weather conditions
Shoot with natural light whenever possible. The quality of your video will look infinitely better and it will send a message to buyers that this home is bright and airy. That being said, filming on a clear day might cause an abundance of sunlight to stream in and ‘blow out,’ or overexpose, the windows. Slightly overcast conditions are more preferable because the light is diffused through the clouds and shadows tend to be softer.
Here at Livabl, we like to schedule our shoots in the morning when the light is not as harsh. If you arrive at the property in the late afternoon, you also risk running out of daylight hours. Always give yourself more time than you think you’ll need, otherwise, you may have to rely on artificial lighting, which can cause your footage to appear yellowish and unnatural.
4. Add artificial light when necessary
Even if you’ve followed all of the rules listed above, you may still encounter a space that’s dark and dingey. To brighten it up, you could purchase an LED video light online for less than $50 or use a torchiere floor lamp to bounce light off the ceiling and cast a softer glow. If the home you’re selling has under-cabinet lighting in the kitchen or pot lights throughout the living room, you may want to keep them turned on to showcase those features to potential buyers.
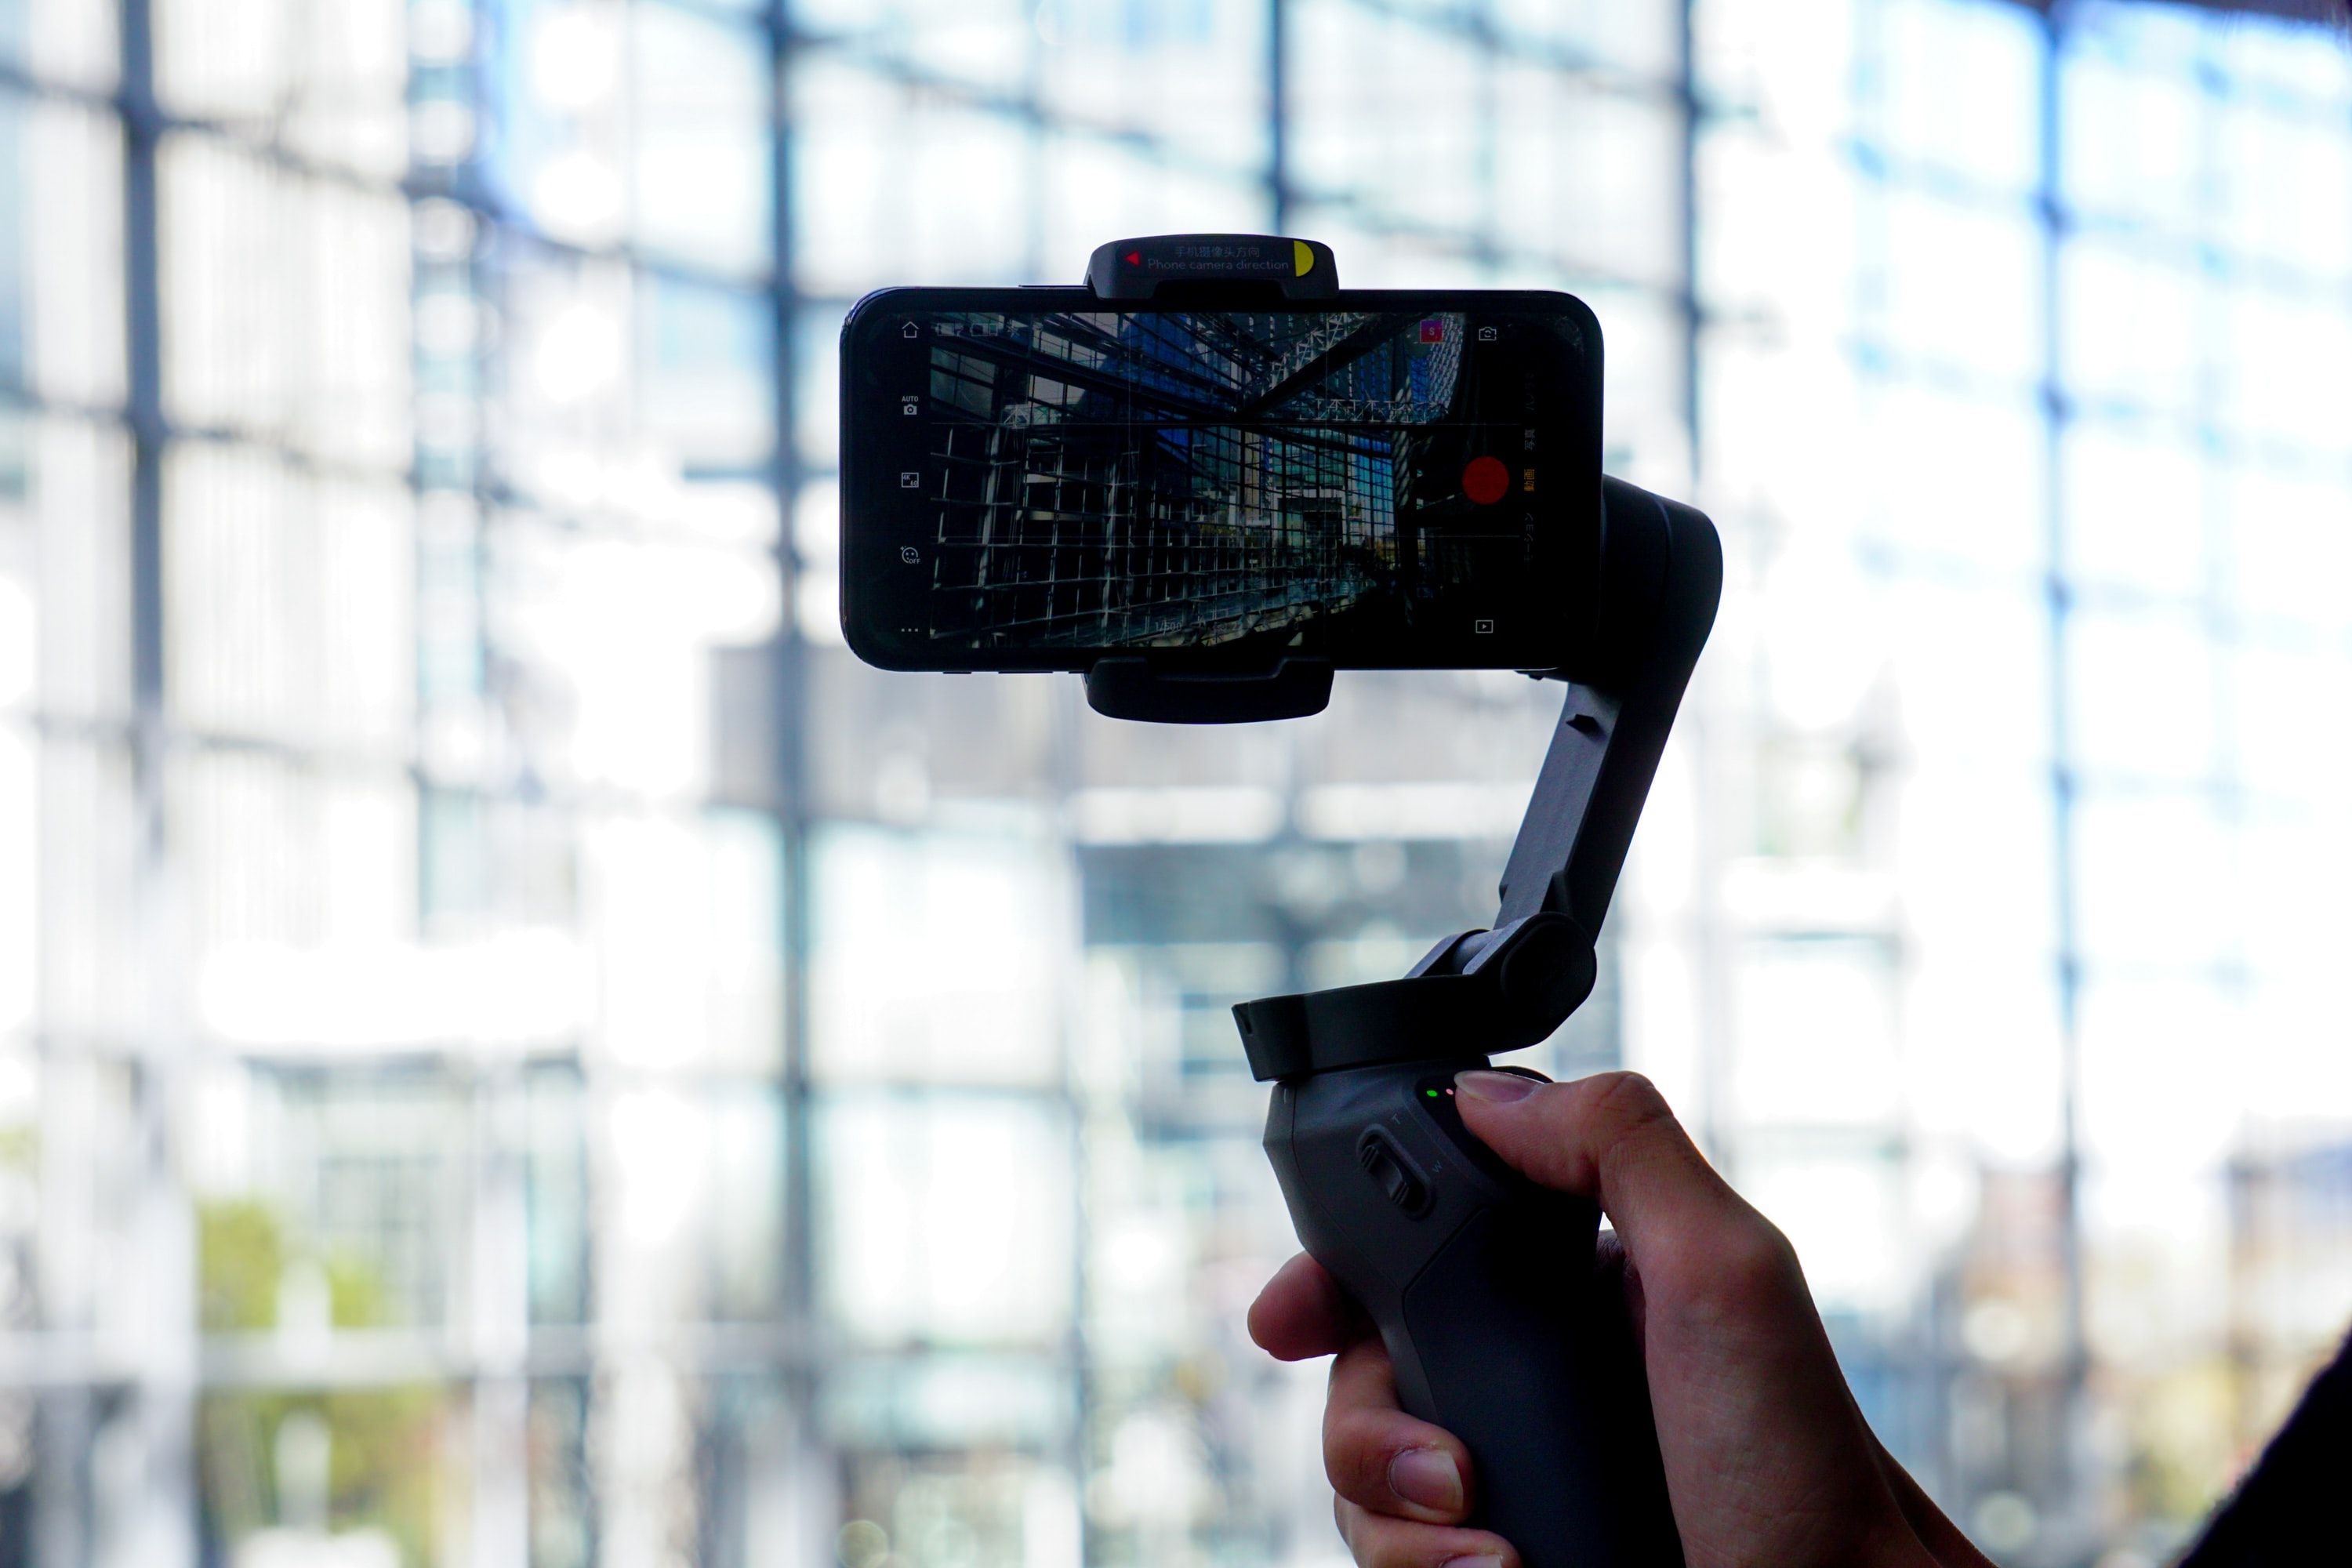
5. Invest in a smartphone gimbal stabilizer
Video stabilizers have come a long way in recent years and you can now purchase a handheld smartphone gimbal for as low as $70. They’re essentially glorified selfie sticks that allow you to shoot really smooth video footage while in motion and capture interesting angles. Smartphone gimbals are much easier to lug around than a traditional tripod and there are thousands of YouTube videos dedicated to gimbal moves that will lend your video some cinematic flair.
6. Buy an inexpensive lavalier microphone
The vast majority of video walkthroughs do not feature narration, but if you’re looking to personalize your tour, you might consider purchasing a lavalier (or lapel) microphone on the cheap. Using your phone or camera’s built-in microphone is not ideal, as it picks up a lot of background noise. A lavalier microphone is unidirectional, meaning it hones in on the speaker.
There are several models that plug directly into your smartphone and you can use the Voice Memos app (or your app of choice) to record crisp, clear audio. If you tend to ramble or are short on time the day of the shoot, you might want to record the audio separately and follow a script.
7. Consider a wide-angle lens for your camera phone
A wide-angle lens allows you to capture a large space like a great room or kitchen without having to pan and also makes smaller rooms feel more spacious. If you have a newer Android or iPhone, you already have a great wide-angle lens built-in — just make sure you know how to zoom out properly.
For older smartphones or those who want to be a little more creative with their shots, clip-on lens kits are readily available online. These usually come with a variety of lenses including wide-angle, fisheye and telephoto. But as is the case with DSLR cameras, not all lenses are created equal. Poor quality glass can distort the image, so make sure you choose a reliable brand. Olloclip and Moment are household names in smartphone photography and although they’re a bit pricier, they offer better quality visuals, durability and are compatible with multiple smartphones.
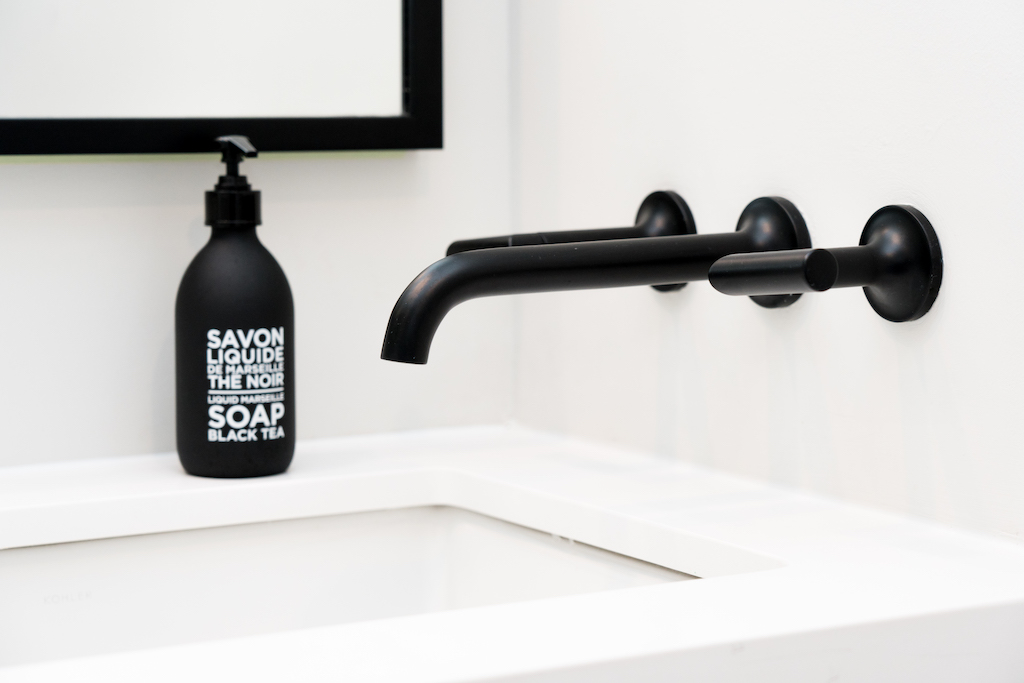
8. Get creative with composition and close-ups
Wide-angle lenses are great for showcasing entire rooms, but when you’re selling a home, you also want to emphasize the design details, like a gooseneck faucet or cabinet hardware. Flex your creative muscles by applying the rule of thirds to your shots or experimenting with soft focus. Capture a mix of wide shots, pans and close-ups to make your video more dynamic and exciting.
9. Download the FiLMiC Pro app for iOS and Android
FiLMiC Pro is your phone’s built-in camera on steroids. For about $15, you can access DSLR-like settings that allow you to manually change the frame rate and shutter speed, monitor audio levels, lock in focus and exposure, adjust the white balance and much more.
We’re particularly fond of the ability to turn off the stabilization feature the newer iPhones are equipped with. If you’re using a smartphone gimbal, the iPhone OIS (optical image stabilization) will conflict with the stabilization that the gimbal provides, resulting in some Blair Witch Project-inspired camera shaking. Thankfully, FiLMiC Pro takes care of that issue.
Next week we’ll be publishing a follow-up to this article on editing tips for video walkthroughs so stay tuned!


 Maziar Moini, Broker of Record - Home Leader Realty Inc.
300 Richmond St. W., #300, Toronto, ON M5V-1X2
Maziar Moini, Broker of Record - Home Leader Realty Inc.
300 Richmond St. W., #300, Toronto, ON M5V-1X2